How to Create Windows 11 Bootable USB Pendrive Using CMD
To create Windows 11 bootable USB pendrive follow these steps:
1. Insert a USB flash drive(minimum 8gb) into your Desktop/Laptop.
2. Open a Command Prompt window as an administrator.
Search for cmd in Start menu > right-click on the command prompt > click on Run as Administrator.
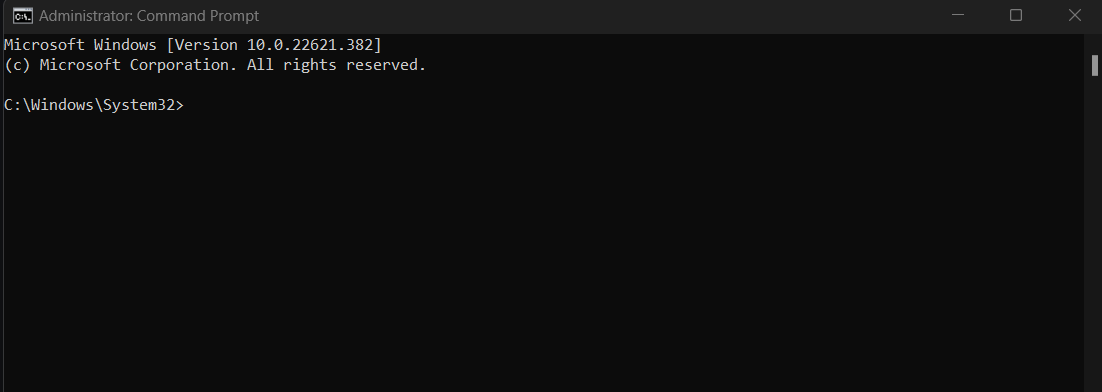
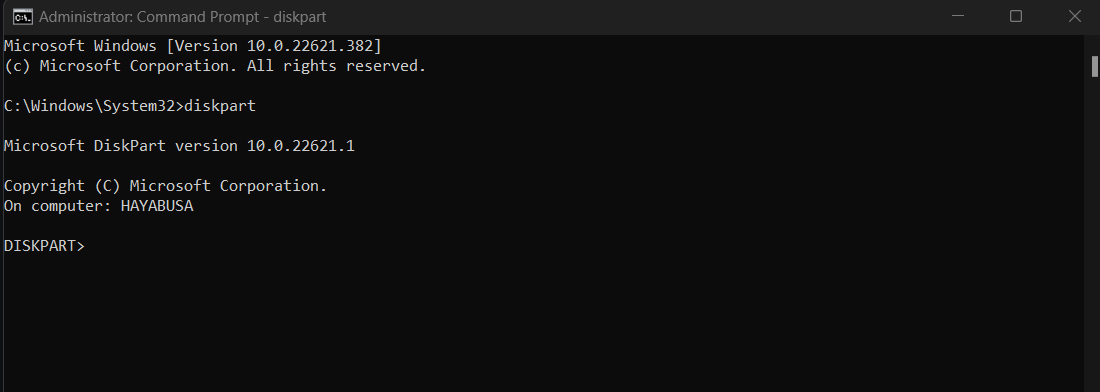
3. Type diskpart and then press ENTER, as shown in below image.
4. Type the command list disk to display all the available disks on your system and then click ENTER.
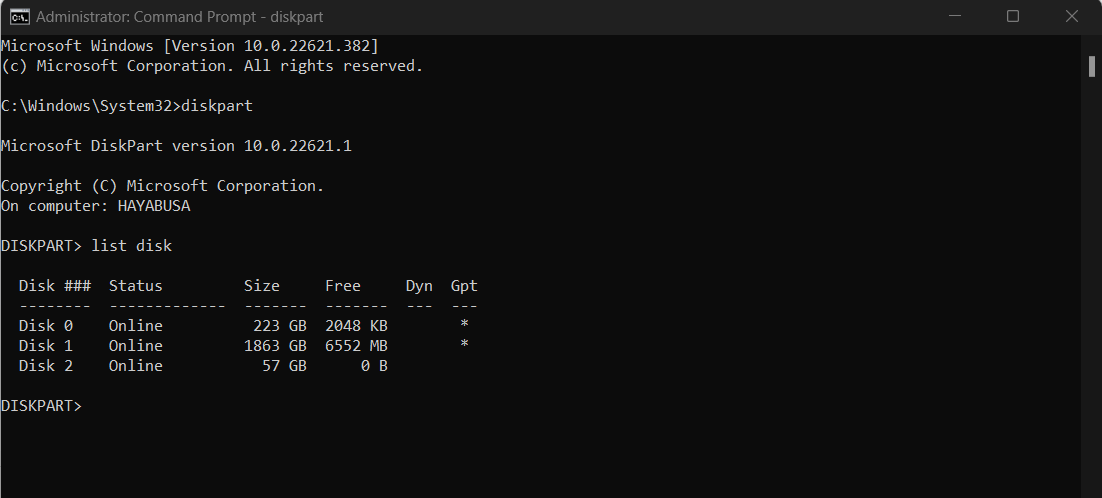
5. Now, select the disk that is your USB pen drive. check your size of the disk and select. Please make sure don’t select any other available disk as it will get formatted.
To choose the disk, type the command select disk x (where x is your disk number). In my case disk number is 2, so I typed select disk 2 and press ENTER.
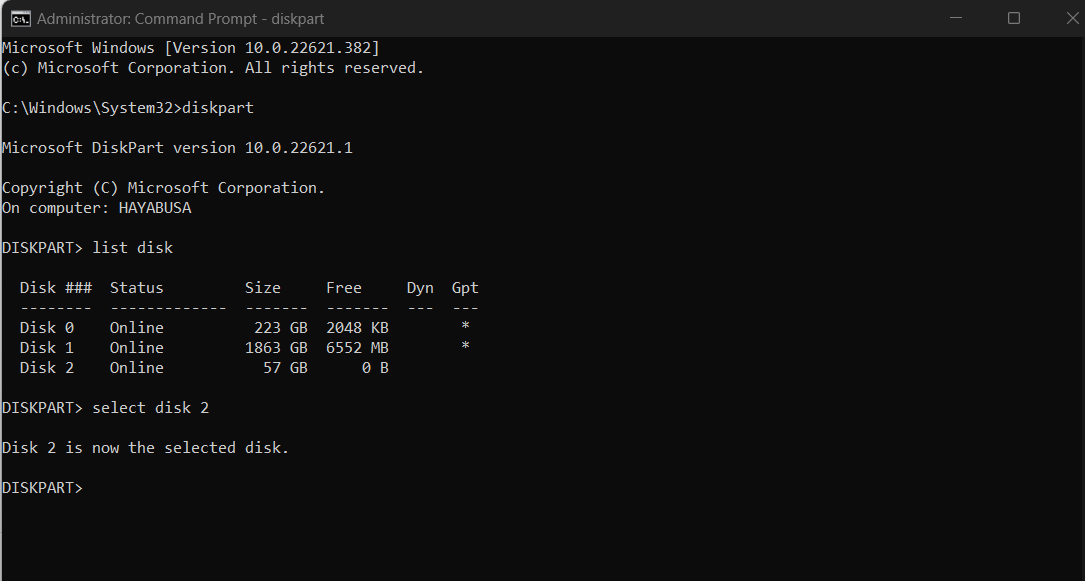
6. Type clean , and the click ENTER. This command will clean the existing data from the USB flash drive.
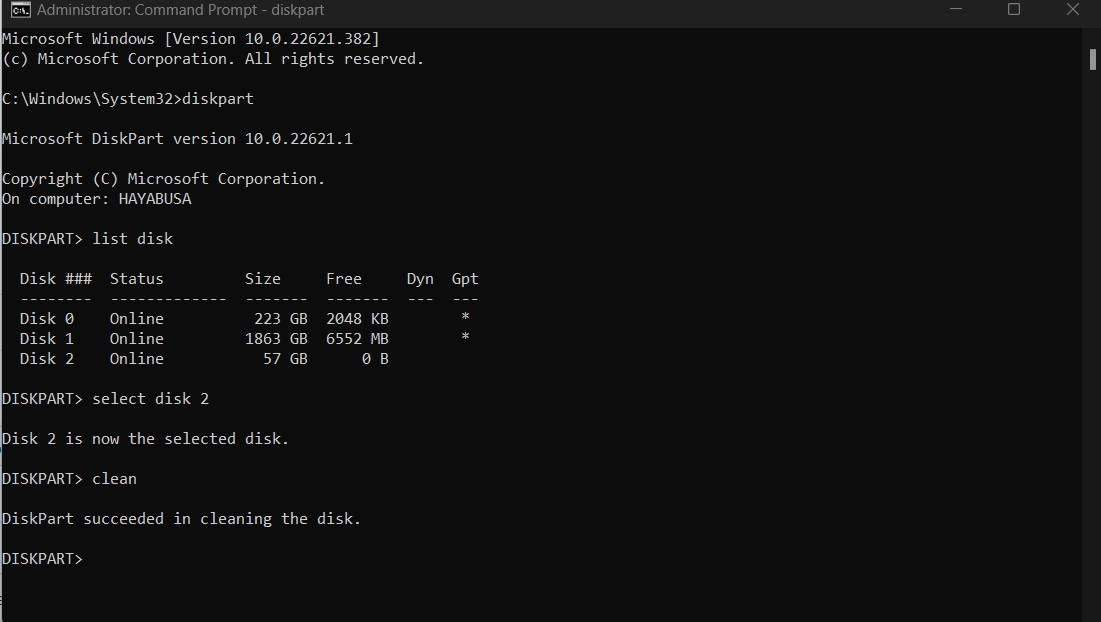
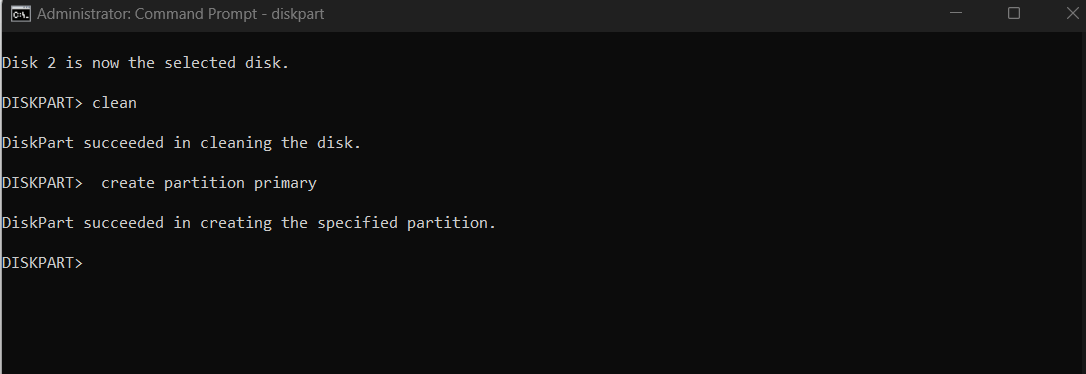
7. To create a new primary partition on the USB flash drive, type create partition primary, and then click ENTER. This will make the disk primary and ready to be made bootable.
8. Now select the partition that you just created, type select partition 1, and then press ENTER.

9. Format the partition, type format fs=ntfs quick, and then click ENTER and wait, As shown in below image

10. Type active, and then click ENTER, To mark the primary bootable partition as Active.

11. Type exit, and then click ENTER, To exit from Diskpart.

12. Now close the command prompt window. copy all the data of Operating System installation files to your USB drive that is just been made bootable.
Now, this USB Pendrive can be used to install the desired Operating System on any System.


